Convert PNG to JPG Without a Black Background (2026)
Convert PNG to JPG without that surprise black background. Here's why transparent pixels turn black and how to flatten onto the color you actually want.
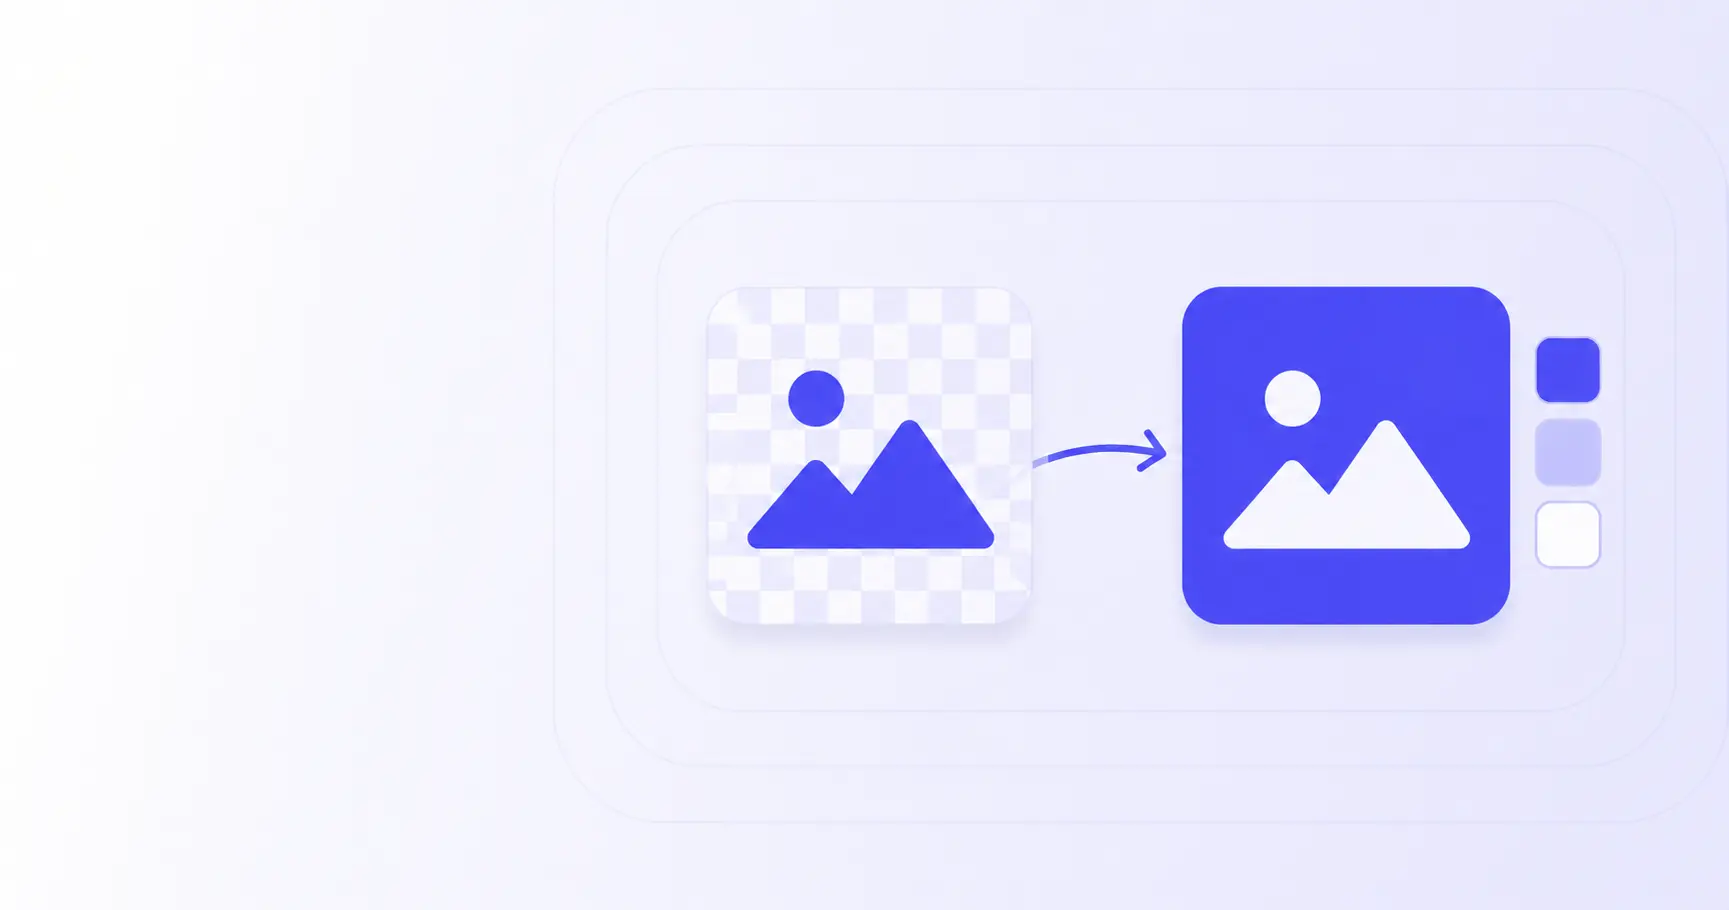
Convert PNG to JPG Without a Black Background
You export a transparent PNG to JPG and the see-through areas come out solid black instead of white. The file isn't corrupt and your tool isn't broken — JPG simply has no transparency, so every transparent pixel has to be filled with some color, and the default color is rarely the one you wanted. This guide explains why it happens and how to flatten a PNG onto the exact background you choose, in the browser, with no upload.
TL;DR
- JPG has no alpha channel, so transparent PNG pixels must be filled with a solid color.
- Canvas-based converters composite onto black by default — that's the black background.
- Fix: paint a background rectangle first, then draw the PNG, then export as JPEG.
- Pick the matte color deliberately (usually white); semi-transparent edges blend into it.
- Keep PNG, WebP, or AVIF whenever you actually need transparency.
Why JPG can't keep PNG transparency
The black-background surprise comes from a real format mismatch, not a bug. PNG and JPG store pixels in fundamentally different ways, and only one of them has room for transparency.
What the alpha channel actually stores
A full-color PNG uses what the W3C PNG Specification, Third Edition calls color type 6: each pixel is an R, G, B triple followed by a fourth alpha sample. Alpha records opacity on a per-pixel basis — a value of zero is fully transparent, and the maximum value is fully opaque. Crucially, PNG uses unassociated (non-premultiplied) alpha, meaning the stored RGB values are not affected by the alpha value. A transparent pixel still carries real color data underneath; it just isn't shown.
Why JPEG has no alpha channel
JPEG, standardized as ITU-T T.81 back in 1992 and wrapped in the JFIF container most people just call "JPG," stores only luminance and chrominance derived from RGB. There is no fourth channel and no provision for transparency anywhere in the format. That single missing channel is the whole story: when you convert RGBA to a format that only understands RGB, the alpha information has nowhere to go.
What "flattening" means
Because the alpha channel can't survive the trip, the converter has to flatten the image — combine every pixel with a background color so the result is fully opaque. The math is standard alpha compositing: for each channel, out = α·src + (1 − α)·bg, where α runs from 0 to 1. A pixel that was 100% transparent (α = 0) becomes pure background; a half-transparent edge (α = 0.5) becomes a 50/50 blend. The only question is which bg color gets used — and that's exactly where the black comes from.
Why your converted JPG has a black background
This is the part that trips up almost everyone the first time. The black isn't random, and it isn't a quirk of one specific app — it's the default spelled out in the web platform's own canvas rules.
How canvas composites transparency onto black
Most browser-based converters (and plenty of desktop ones) draw your image to an HTML <canvas> and then ask the canvas to serialize as JPEG. Per the WHATWG canvas specification, when you request an image type that doesn't support alpha, the canvas content "must be composited onto a solid black background" using the source-over operator before serialization. So in the out = α·src + (1 − α)·bg formula, bg is (0, 0, 0). Transparent areas resolve to black, semi-transparent edges darken toward black, and you get exactly the result you didn't want.
The white-background assumption that breaks
People expect white because that's what they see in their image editor's transparent-checkerboard preview, and white is what most viewers display behind transparency. But "what the preview shows" and "what gets baked in" are two different things. The preview is your editor's choice; the baked-in color is the converter's default. Unless the tool explicitly fills white first, you inherit the spec default of black.
Black vs white: a quick comparison
| Background used | Where it comes from | Typical result |
|---|---|---|
| Black (default) | Canvas spec source-over fill | Logos and cut-outs look like they sit on a dark box |
| White (chosen) | Tool paints white before drawing | Matches most documents and web pages |
| Custom color | You set a matte to match the destination | Edges blend cleanly into the target surface |
The takeaway: the background color in a flattened JPG is a decision, not a property of your PNG. Make the decision on purpose.
How to convert PNG to JPG without losing transparency
You can't literally keep transparency in a JPG — but you can control the flattening so the result looks intentional instead of broken. The fix is always the same: decide the background color and paint it before the image.
Flatten onto a solid background first
The reliable pattern is to create a canvas, fill it with your chosen matte color, and only then draw the PNG on top. Filling first means the opaque parts of the PNG cover the matte while the transparent parts let it show through:
const canvas = document.createElement('canvas');
canvas.width = img.width;
canvas.height = img.height;
const ctx = canvas.getContext('2d');

// Paint the matte FIRST, then the PNG on top
ctx.fillStyle = '#ffffff';
ctx.fillRect(0, 0, canvas.width, canvas.height);
ctx.drawImage(img, 0, 0);
The order matters. fillRect lays down a fully opaque white layer; drawImage then composites the PNG over it with the default source-over operator. By the time you serialize, there are no transparent pixels left for the spec's black fill to touch. The MDN reference for drawImage covers the source/destination arguments if you also need to resize during the draw.
Choosing the right matte color
White is the safe default, but the right matte is whatever the image will sit on. A product cut-out destined for a page with a light-grey card looks best flattened onto that same grey, because the anti-aliased edge pixels will blend into it instead of leaving a faint white halo. If you don't know the destination, white causes the fewest surprises. Avoid black unless you specifically want a dark look — that's the one most people are trying to escape.
Doing it without code in iKit
If you'd rather not touch a canvas, iKit's Image Format Converter flattens for you and lets you pick the background color before exporting, so transparent PNGs become clean JPGs with the matte you chose. Everything runs in your browser — the image is never uploaded. If you only wanted a smaller file and don't actually need JPG, the Image Compressor can shrink the PNG while keeping its transparency intact. And if the PNG you're flattening came from a photo you cut out, the Background Remover produces the clean alpha edges that flatten most predictably.
How to convert PNG to JPG in JavaScript
Once the canvas is flattened, exporting to a JPEG file is two lines — but there are a couple of options worth setting deliberately so you don't quietly ship oversized or over-compressed images.
Draw a background, then export as a Blob
With the flattened canvas from above, toBlob gives you a downloadable file. The MDN toBlob reference notes that browsers are required to support image/png, while image/jpeg is widely supported and takes an optional quality argument:
canvas.toBlob(
  (blob) => {
    const url = URL.createObjectURL(blob);
    // download or preview `url`, then revoke it
  },
  'image/jpeg',
  0.9 // quality, 0..1
);
If you omit the type, you get PNG back — which defeats the purpose — so always pass 'image/jpeg' explicitly.
Set JPEG quality on purpose
The third argument is a number from 0 to 1 controlling lossy compression. Around 0.85–0.92 keeps files small while avoiding visible artifacts on most photos and graphics. Drop below 0.7 and you'll see blocking around sharp edges and text; push to 1.0 and the file balloons with little visible gain. Test a value or two against your actual content rather than guessing.
Edge cases: semi-transparent pixels and halos
Soft shadows, glows, and anti-aliased edges are partially transparent, so they blend with the matte per the compositing formula. If you flatten onto white but later place the JPG on a colored surface, those blended edge pixels reveal a pale fringe — the classic "halo." There's no way to remove it after flattening because the original alpha is gone. The fix is to flatten onto the destination color in the first place, or keep the file as PNG/WebP and skip JPG entirely.
Common mistakes and how to avoid them
A few recurring errors account for almost every "my PNG converted wrong" report:
- Expecting transparency to survive. It can't — JPG has no alpha. Decide on a background instead.
- Drawing the image before the background. Fill the matte first, or the PNG's transparent areas stay transparent and fall back to black on export.
- Forgetting the type argument.
toBlob/toDataURLdefault to PNG; pass'image/jpeg'explicitly. - Leaving quality at the default. Set it intentionally so you control the size/artifact trade-off.
- Flattening onto white for a dark page. Match the matte to where the image will actually live.
Get the background decision right and "PNG to JPG" stops being a source of black-box surprises — it's just a controlled flatten plus a quality setting.
References
- Portable Network Graphics (PNG) Specification (Third Edition) — color type 6 (RGBA) and the non-premultiplied alpha rule used to explain what transparency stores.
- The canvas element — WHATWG HTML Standard — the rule that non-alpha image types are composited onto solid black, i.e. the source of the black background.
- HTMLCanvasElement: toBlob() method — MDN — supported MIME types and the JPEG quality argument used in the export snippet.
- CanvasRenderingContext2D: drawImage() method — MDN — drawing and source-over compositing behavior referenced in the flatten step.
Related on iKit
- See exactly how PNG, JPG, WebP, and AVIF differ before you convert — when JPG is the right target at all, and when a format with alpha is the better call.
- Remove an image background to get a clean transparent PNG — the upstream step many people do right before a PNG-to-JPG flatten.
- Compress PNG images without losing quality — shrink a PNG while keeping its transparency, if size (not format) was the real goal.
- Compress 20 images to a ZIP in 30 seconds — batch-process a folder of images entirely in the browser, no upload.
Related posts
How to Test a Regex Pattern Online in 30 Seconds (2026)
Learn how to test a regex pattern online without writing code: paste, highlight, and debug matches, plus why the same regex passes in Python but fails in JS.
Convert a Date to Unix Timestamp: Bash, Python, JS, SQL (2026)
Convert any date to a Unix timestamp in Bash, Python, JavaScript, and SQL with copy-paste one-liners — plus the timezone trap each language hides.
Convert PNG to WebP and Cut Image Size by 30% (2026)
Convert PNG to WebP to cut image size by roughly 30% with no visible quality loss. A 2026 guide to lossless vs lossy, the Canvas API, and browser support.