Why Your Diff Shows Whole-Line Changes for One Word (2026)
Change one word and your diff lights up the whole line red and green. Here is why line-based diff does that, and how to switch to word-level.
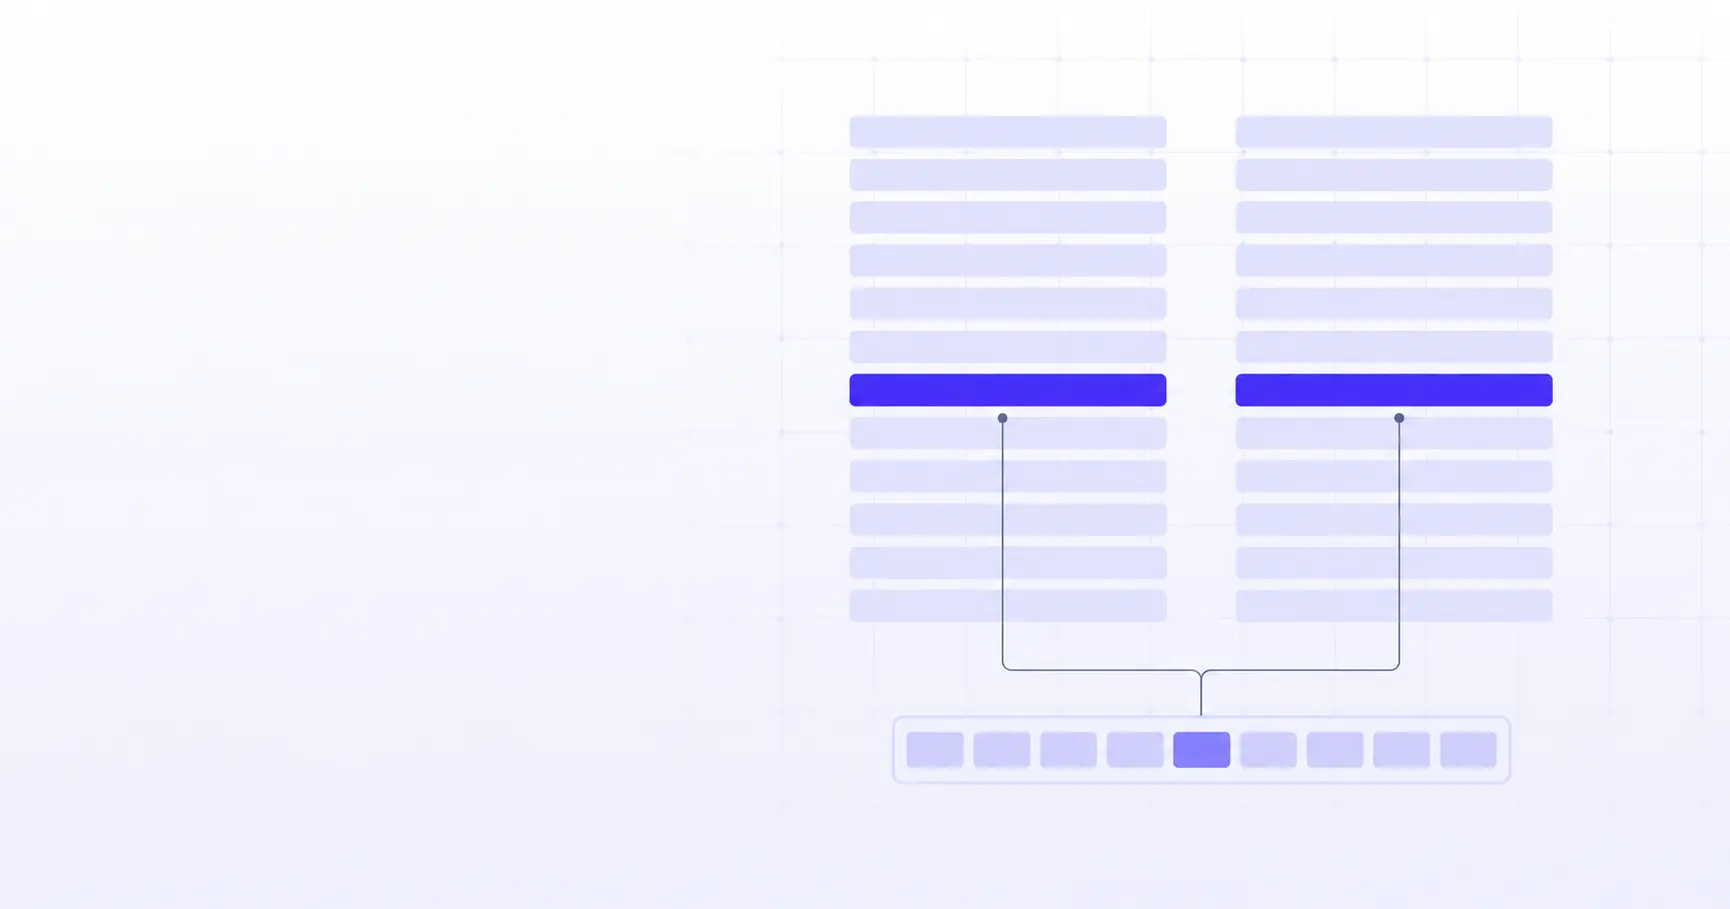
Why Your Diff Shows Whole-Line Changes for One Word
You fix a single typo, run the diff, and the whole line turns red on one side and green on the other. Nothing else on that line changed, yet the tool insists the entire thing is different. This is not a bug. It is exactly how a line-based diff is designed to work, and once you see why, the fix — switching to a word-level view — is a one-flag change.
TL;DR
- Standard diff treats each line as one indivisible token, so any change marks the whole line.
- A line either matches its counterpart exactly or it counts as removed-plus-added.
- Git's default algorithm compares lines, not words — by design, for speed and clarity.
git diff --word-diff(or--color-words) re-compares each hunk word by word.- For prose and long single-line paragraphs, word-level diff is almost always what you want.
Why does diff mark the whole line when I changed one word?
The short answer: to a line-based diff, a line is a single unit. It never looks inside the line.
Lines are the atomic unit of a line-based diff
Before any comparison happens, the tool splits both files into a list of lines. From that point on, each line is treated as one opaque token — the diff engine compares tokens for equality, not the characters within them. So const timeout = 30 and const timeout = 60 are simply two different tokens. The engine has no notion that they share a prefix; it only knows token A is not equal to token B.
Because the smallest thing the algorithm can add or remove is a whole line, the only way it can represent "this line became that line" is: remove the old line, add the new one. That is why you see a paired -/+ even for a one-character edit.
The Myers algorithm compares line tokens, not words
Git's default engine is Eugene Myers' 1986 method, published as An O(ND) Difference Algorithm and Its Variations in Algorithmica. It finds the shortest edit script — the minimum set of insertions and deletions — that turns one sequence of tokens into the other, which is equivalent to finding their longest common subsequence. It is fast and elegant, but the "sequence" it operates on is the sequence of lines you fed it. Change the tokens to words and it would happily diff words; feed it lines and it diffs lines.
A line either matches exactly or it doesn't
There is no partial credit. Two lines that differ by one space are "not equal" in precisely the same way as two completely unrelated lines. This is worth internalizing, because it explains a lot of confusing output: reindenting a block, converting tabs to spaces, or changing a line ending all rewrite every affected line as a full remove/add pair, even though the visible content looks identical. (Whitespace-only noise has its own fixes — we covered those separately below.)
How to show word-level changes in a diff
Word-level diff does not replace the line diff; it refines it. The tool first runs the ordinary line comparison, then re-compares the changed regions token by token so you see only the words that actually moved.
git --word-diff and what each mode does
The core command is git diff --word-diff. Per the git diff-options documentation, the mode defaults to plain, which brackets changes inline:
The quick [-brown-]{+red+} fox
jumps over the lazy dog.
Removed text appears as [-…-], added text as {+…+}. The four modes are plain, color, porcelain (a script-friendly format), and none (to turn it back off). By default, git delimits words by whitespace — any run of non-space characters is one word.
--color-words for a cleaner inline view
If your terminal has color, git diff --color-words drops the brackets and marks changes with color alone, which reads much more like normal text:
git diff --color-words
git log -p --color-words HEAD~1
This is roughly a shortcut for --word-diff=color. It is the mode most people reach for day to day, because a paragraph with one edited word reads as that paragraph with one highlighted word — not as two full copies stacked on top of each other.
--word-diff-regex for character-level diffs
You can redefine what a "word" is. With --word-diff-regex, every non-overlapping match of the regex becomes a token, and anything between matches is ignored for comparison. The classic trick is character-level diffing:
git diff --word-diff-regex=.
That treats each character as its own token, so a diff of color vs colour highlights just the inserted u. If you write your own token regex, a browser regex tester is a quick way to confirm it matches what you expect before you paste it into a git flag.
Why long lines and prose make this worse
Line-based diff is great for code, where lines are short and meaningful. It falls apart on text where a "line" is enormous.
One paragraph per line = one giant change
Markdown, LaTeX, plain notes, and many word-processor exports store a whole paragraph — sometimes a whole section — as a single physical line. Edit one word in a 200-word paragraph and the line diff has exactly one option: delete the 200-word line, insert the new 200-word line. The signal you care about (one word) is buried in a wall of red and green. This is the single most common reason people ask why their diff looks broken.
Semantic line breaks (one sentence per line)
A durable fix for prose you control is to write one sentence per line — sometimes called semantic line breaks. Because each sentence is now its own token, editing a word only rewrites that sentence's line, and the rest of the paragraph stays untouched in the diff. Renderers like Markdown still join the sentences into a paragraph, so readers see no difference. If you are drafting in a Markdown editor, keeping sentences on their own lines makes every future diff dramatically cleaner.
Markdown, LaTeX, and word-wrapped text
For text you don't control — a colleague's export, a generated file — you cannot reflow it after the fact without creating a huge one-time diff. That is exactly when a word-level or character-level view earns its keep: it lets you read the real change without touching the file's line structure at all.
How to see word-level diffs in the browser
You do not need git to get past the whole-line problem. A client-side diff tool does the same two-pass trick — line diff first, then word or character refinement — without any setup.
Paste two versions, get word/character highlighting
The iKit Diff Checker runs entirely in your browser: paste the old version on one side and the new on the other, then switch the granularity to word or character. Because it runs locally, nothing you paste — code, contracts, API keys in a config — is uploaded anywhere. That privacy property is the whole reason to prefer an in-browser tool over a server-side one for anything sensitive.
Comparing JSON and formatted data
Structured data has its own trap: two JSON files can be semantically identical but differ in key order or indentation, and a raw line diff will scream about every line. The reliable move is to normalize both sides first — pretty-print each file with a JSON formatter so keys and spacing are consistent — and then diff. After that, a word-level view pinpoints the one value that actually changed.
When line-level is actually what you want
Word diff is not always the answer. When you are reviewing code, line granularity maps cleanly to statements and is easier to scan for structure. When you are counting how many lines moved, or generating a patch for git apply, you want the standard line-based unified format. Reach for word-level when the content within lines is what changed and the lines themselves are long or prose-like.
Here is how the three granularities compare:
| Granularity | Compares | Best for |
|---|---|---|
| Line-level | Whole lines as tokens | Source code, patches, structured files |
| Word-level | Whitespace-delimited words | Prose, docs, long paragraphs |
| Character-level | Single characters | Typos, one-letter edits, dense strings |
A quick rule of thumb for picking one:
- Short lines that mean something on their own → line-level.
- Long lines or natural-language text → word-level.
- Hunting a single changed character in a dense string → character-level.
References
- git diff-options Documentation —
--word-diffmodes, default whitespace word delimiting, and--word-diff-regexbehavior. - git-diff Documentation — how
git diffproduces line-based unified output by default. - An O(ND) Difference Algorithm and Its Variations (Myers, 1986) — the shortest-edit-script / LCS algorithm behind git's default diff.
Related on iKit
- Word-level diff and line-level diff solve different problems — the companion piece on when each granularity is the right tool, expanding on the table above.
- Line-based diffs get noisy the moment whitespace changes — why reindenting rewrites whole lines, and when ignoring whitespace hides a real bug.
- The LCS algorithm is what decides which lines "match" — a deeper look at the shortest-edit-script idea that treats each line as one token.
- Side-by-side and unified diff are two views of the same comparison — how the layout changes once you know what the engine is actually comparing.
- Diffing translation pairs is a word-level job by nature — a concrete workflow where line-level output would be useless and word-level is essential.
- Compare any two texts in the browser without uploading them — the general how-to for the client-side Diff Checker used above.
Related posts
HEX to RGB: How the Conversion Actually Works (2026)
A HEX to RGB conversion is just base-16 to base-10 on three bytes. Here is the exact math, the shorthand rule, alpha, and the CSS syntax for 2026.
How to Count Chinese, Japanese & Korean Words (2026)
Splitting on spaces gives the wrong count for Chinese and Japanese. Here is how to count CJK words correctly with Intl.Segmenter and character counts.
SMS 160-Character Limit: Why Going Over Costs You Money (2026)
The SMS 160-character limit comes from a 140-byte cap. One emoji or smart quote can drop it to 70 and double your bill — here's exactly why.